Maybe you’re here because you want to take better food pictures for your Instagram account and your food business. Thankfully, we are here to give you the most basic pieces of advice about food photography. Learn how to do it like a pro today.
Tip #1: Choose a Point of View to Tell the Narrative From
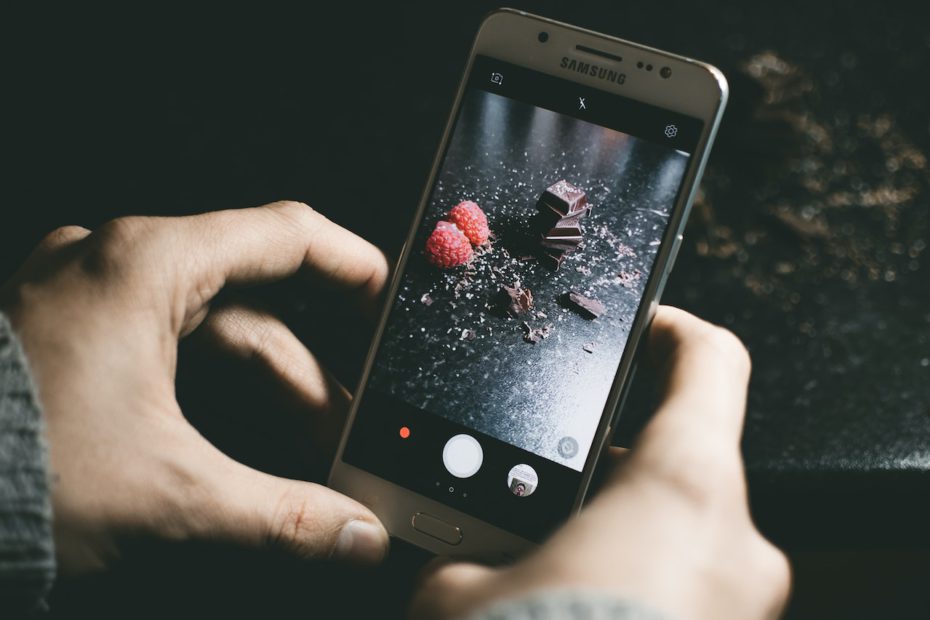
When practising professional food photography, a formula is followed. For instance, the low-over-table side shot and the flat-lay shot from above.
Certain angles can be used as starting points for compositional work. Make sure your shot is captured from the best angle feasible. It is critical because the camera’s positioning affects the narrative. Food photography is fundamentally about telling a story.
Keep food in mind when you’re telling a story. Take notice of its size, shape, height, and isolated location. The camera should then be positioned to showcase these specific traits.
Tip #2: Surround Your Protagonist
The first stage in taking simple food shots is to find a hero item, also known as the focus of attention in photography: the main course.
Bring up the hero object as a topic. After that, incorporate food-related props. A cuisine’s history can be derived from its constituents, such as its ingredients, sauces, oils, and cooking equipment. The origin or season of a dish can frequently be deduced from its utensils, jars, herbs, glasses, linens, and tablecloths.
Put some things in the foreground and some in the background. These elements make the photo’s story more fascinating and give the composition depth.
Tip #3: Adjust the Lighting
Light is the most crucial aspect of food photography. Poor lighting can ruin photographs and turn off viewers. Anyone interested in food photography should be familiar with how to alter light.
Perhaps you can photograph food with natural light close to a window. If you’re going to utilize direct sunshine, put something between the window and the food to diffuse the light. You can also use a wide range of different light modifiers.
The sun casts both black shadows and gleaming highlights. A diffuser can soften the light, minimize the contrast between shadows and highlights, and generate a more visually pleasing overall appearance. Diffusers can be purchased for a modest price at any photography store, but you can also just hang a thin white bedsheet in front of the window.
Tip #4: Utilize Lines and Layers
Your hero object should be surrounded by props, but these props should not detract from the item’s emphasis.
Lines and layers are straightforward compositional elements. By arranging the components in your composition in lines and layers, you can draw attention to the main subject. The objects will not distract the viewer because they will serve the image instead.
Tip #5: Keep Colour to a Minimum to Simplify Compositions
Most of the time, the dish is overshadowed by the vivid decorations that accompany food photographs, which steal the stage.
If you want to integrate a lot of colour into your images, avoid using colourful props, backgrounds, or dinnerware. Neutral colour palettes include greys, browns, blacks, silvers, and whites. Then, select the garnishes that will set your dish apart from the crowd.
Conclusion
Applying the right formula for your food pictures is essential when you present food on social media and websites. Find the balance, experiment, and discover your style. Now that you know these simple tricks, your food photography skills will improve significantly.
Do you want to explore food delivery software for your small business? KitchenFuel is here to innovate with you and guide you toward your expansion. Book your FREE demo today!